
The Snipping Tool on Mac helps you capture screenshots easily. Many people think only Windows has this feature, but Mac has great built-in tools too.
If you want to save a picture of your screen, Mac makes it simple. You can capture the full screen, a selected area, or just one window. Let’s explore how to use the snipping tool on Mac and make your work faster.
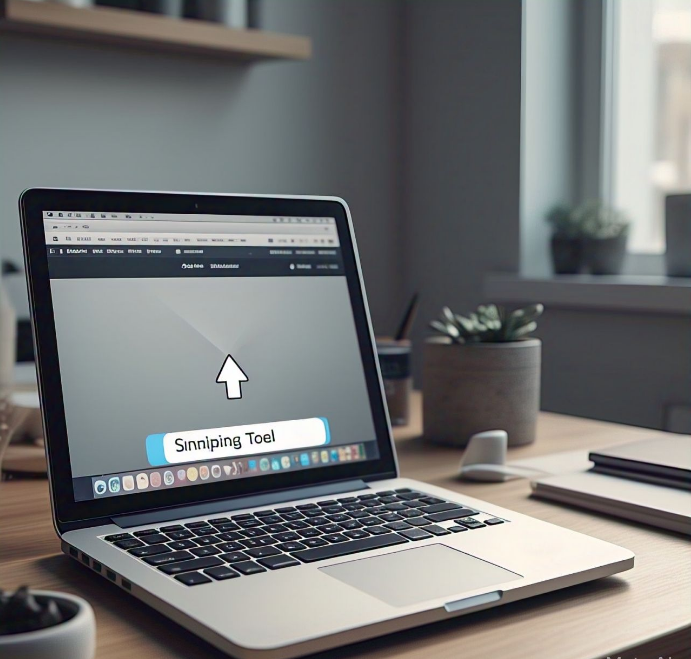
What Is the Snipping Tool on Mac
The snipping tool on Mac allows users to take screenshots easily. It is a built-in feature that helps you capture anything on your screen. Whether you want to save a document, a picture, or a website, the snipping tool can do it for you.
Unlike Windows, Mac doesn’t have an app named “Snipping Tool,” but it provides several shortcut keys to capture your screen. This tool is very useful for students, professionals, and anyone who wants to save important information quickly. Learning to use this feature will save you time and make your tasks easier.
Why Do You Need a Snipping Tool on Mac
A snipping tool is helpful in many ways. For example, you might need to share part of your screen with a friend or coworker. The tool makes it easy to take screenshots and share them instantly.
Mac’s snipping tool is perfect for capturing specific parts of your screen without showing unnecessary details. It is also useful when creating tutorials or presentations. If you know how to use it, you can get the most out of your Mac without needing additional software.
Simple Ways to Take Screenshots on Mac

Mac offers built-in shortcuts for taking screenshots. These shortcuts are easy to remember and use. Here are some basic methods to capture your screen:
- Full Screen: Press Command + Shift + 3 to take a screenshot of the entire screen.
- Selected Area: Use Command + Shift + 4 and drag your cursor to select the area you want to capture.
- Specific Window: Press Command + Shift + 4, then hit the spacebar and click on the window you want to capture.
With these shortcuts, you can capture anything on your screen without downloading extra tools.
Where Are My Screenshots Saved on Mac
After you take a screenshot, it is automatically saved on your Mac. By default, the screenshots go to your desktop. You can find them labeled with the date and time they were taken.
If you want to change the location, Mac gives you options. You can save your screenshots in a specific folder to keep your desktop tidy. Organizing your files will make it easier to find what you need later.
Common Problems with Snipping Tool on Mac (And How to Fix Them)
Sometimes, users face small issues while using the snipping tool on Mac. These problems are usually easy to fix.
Problem 1: Shortcut Keys Not Working
- Ensure your Mac keyboard is working properly.
- Check if the shortcuts are enabled in System Preferences > Keyboard > Shortcuts.
Problem 2: Screenshots Not Saving
- Make sure you have enough storage on your Mac.
- Check the default save location and change it if needed.
By fixing these issues, you can enjoy a smooth experience with the snipping tool.
Third-Party Snipping Tools for Mac: Are They Worth It

While Mac’s built-in snipping tool is great, some people prefer third-party apps. These apps offer additional features like advanced editing, annotations, and sharing options.
Before downloading, make sure the app is secure and fits your needs. Popular tools like Snagit and Lightshot are reliable and easy to use. However, for basic screenshots, Mac’s built-in tool is often more than enough.
Conclusion
The snipping tool on Mac is simple and helpful. You can use it to take pictures of your whole screen, part of the screen, or just one window. It’s built right into your Mac, so you don’t need to download anything extra.
Learning how to use it will save you time and make your work easier. Whether you are a student or someone who loves sharing screen pictures, this tool is perfect for quick screenshots. Try it out and see how much easier it makes your tasks!
FAQs
Q: How do I take a screenshot of my full screen on Mac?
A: Press Command + Shift + 3, and your Mac will capture the whole screen.
Q: Can I choose a specific part of my screen to capture?
A: Yes! Use Command + Shift + 4, then drag your cursor to select the part you want.
Q: Where are my screenshots saved on Mac?
A: They are saved on your desktop by default with a date and time label.
Q: What should I do if screenshot shortcuts don’t work?
A: Check if the shortcuts are enabled in System Preferences > Keyboard > Shortcuts and make sure your keyboard is working.
Q: Are there third-party snipping tools for Mac?
A: Yes, apps like Snagit and Lightshot offer extra features like editing and annotations.